

Tree Removal
About This Project
High-level outline for DIY tree removal. This involves assessing the tree, planning the removal, gathering safety equipment and tools, executing the removal, and cleaning up the debris. It is a complex and potentially dangerous task that should only be undertaken by experienced individuals or professionals.
Tools & Materials

Safety Glasses

25 ft. Tape Measure
-Qwpwz94URBobujA1PYt2pgYiST5sMJ.webp)
Chalk Line
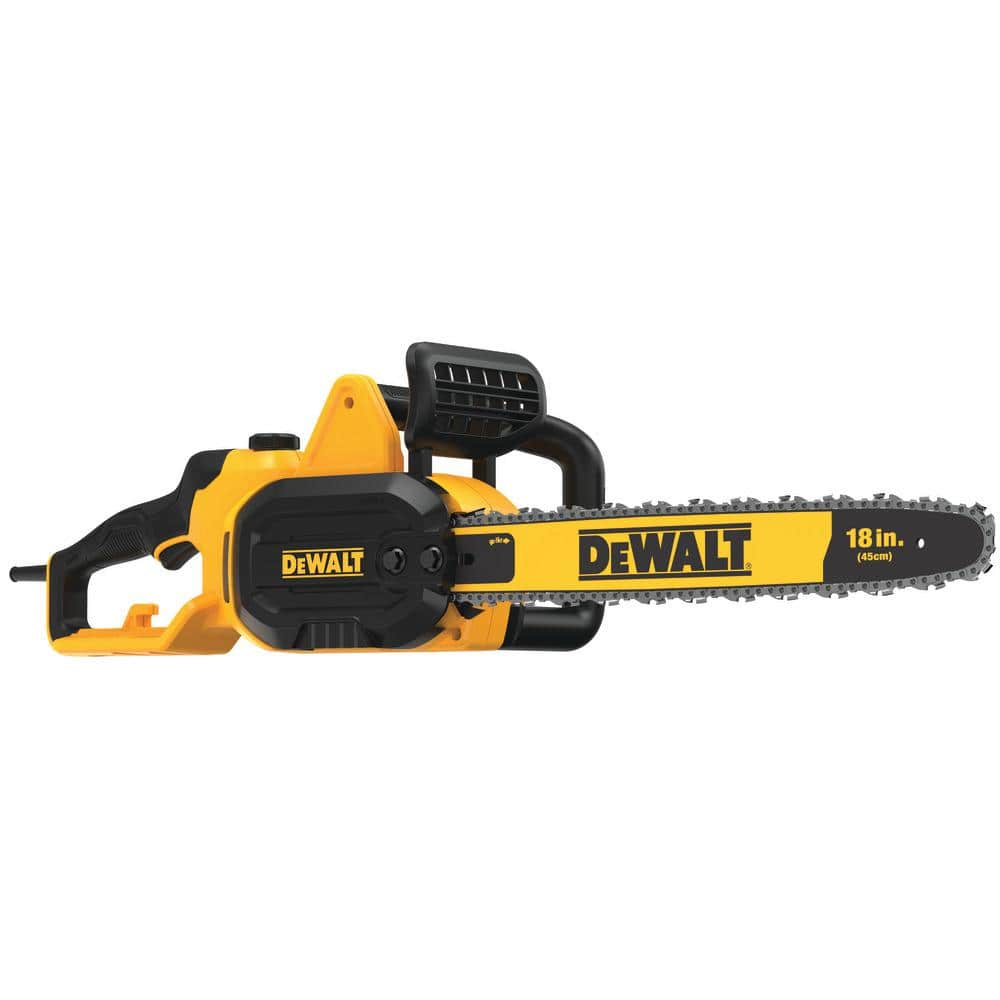
DEWALT 15 AMP 18in Corded Electric Chainsaw DWCS600

Husky 5 lb. Splitting Wedge 34216
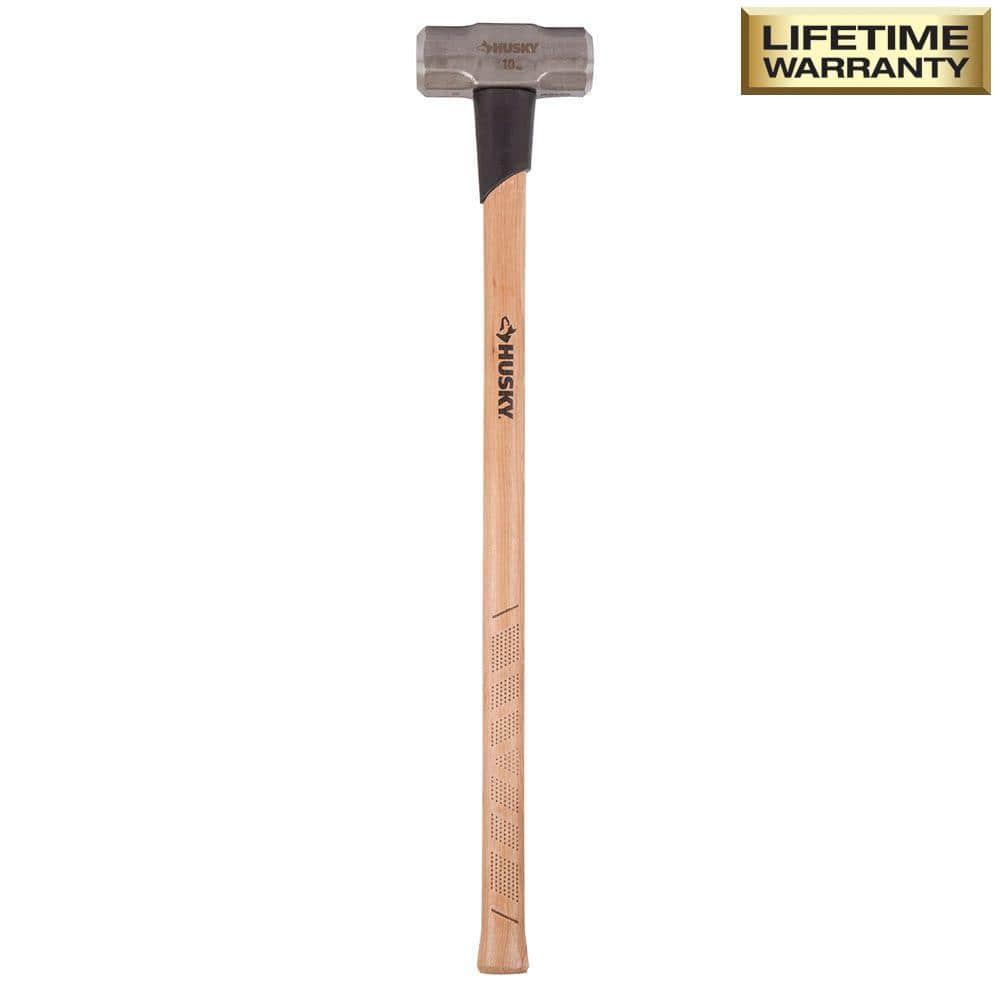
Husky 10 lb. Sledge Hammer with 36 in. Hickory Handle 34207
Safety Glasses
Keeps eyes safe from potential hazards.
25 ft. Tape Measure
Measure with precision and ease.
Chalk Line
Marks straight, precise lines on surfaces.
DEWALT 15 AMP 18in Corded Electric Chainsaw DWCS600
Equipped with an 18 in. bar and chain, this Electric Chainsaw has the power to handle all your cutting needs. Its high-efficiency brushless motor delivers a robust output of 4 HP. Cut through heavy-duty
Husky 5 lb. Splitting Wedge 34216
Perfect for splitting logs and kindling. Premium tempered steel Weighted. V-shaped design.
Husky 10 lb. Sledge Hammer with 36 in. Hickory Handle 34207
Ideal for demolition projects and breaking of concrete and rocks. Premium Hickory handle with over strike protection, designed for easy gripping, control and comfort. Superior forged head.
Steps

Assess Tree and Surrounding Area
60 minutesBefore any removal attempt, thoroughly assess the tree's condition. Look for any signs of rot, disease, or significant lean that could affect how it falls. Identify overhead obstructions such as power lines, other trees, or structures. Also, survey the ground around the tree for obstacles, uneven terrain, or anything that could impede movement or create a hazard. Plan your escape route, ensuring it's clear and at least a 45-degree angle away from the direction of fall.
Watch: Assess Felling Zone and Hazards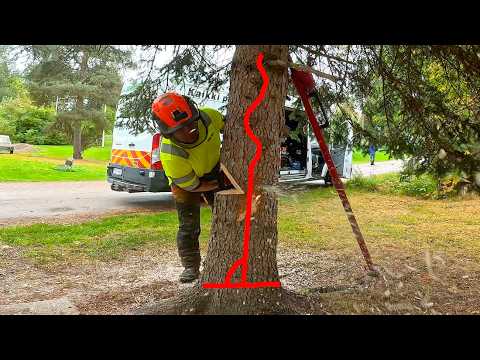
Plan the Fall Direction and Cutting Strategy
90 minutesBased on the assessment, decide the optimal fall direction, considering prevailing winds and the natural lean of the tree. Plan the felling cuts: typically, this involves a directional notch on the side of the intended fall and a back cut on the opposite side. The notch should be about one-third of the tree's diameter, and the back cut should be slightly higher than the notch's apex, leaving a hinge of wood to control the fall. If using a rope or winch, plan its attachment point and tensioning strategy.
Watch: Assess Tree and Plan Felling Direction
Prepare Chainsaw and Safety Gear
30 minutesFill the chainsaw with the correct fuel and bar oil mixture. Check that the chain is sharp and properly tensioned. Ensure all safety features on the chainsaw are functional. Put on all required personal protective equipment, including a hard hat, safety glasses or goggles, hearing protection, chainsaw chaps or protective trousers, steel-toed boots, and heavy-duty gloves.
Watch: Prepare Safety Gear and Chainsaw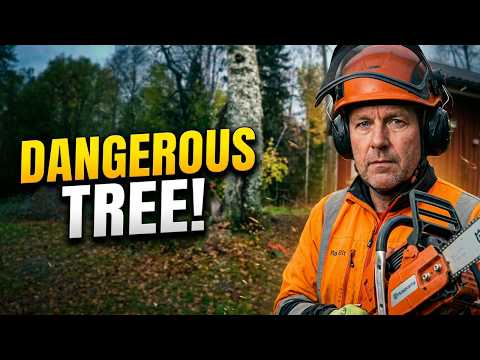
Make the Directional Notch
45 minutesMake the first cut of the notch, typically an open-face notch, about one-third of the way into the tree's diameter. Then, make the second cut to meet the first, forming a wedge-shaped opening. Ensure the notch is precise and angled correctly to guide the tree's fall.
Watch: Create the Directional Notch
Make the Back Cut
45 minutesStart the back cut on the side opposite the directional notch. This cut should be horizontal and slightly above the apex of the directional notch. Stop the back cut when a sufficient amount of wood remains to act as a hinge (typically about 10% of the tree's diameter). The hinge will control the fall of the tree. As the cut progresses, watch for any movement and be ready to retreat.
Watch: Perform the Back Cut
Execute Tree Felling and Retreat
10 minutesAs the tree starts to fall, finish the back cut if necessary. Once the tree is committed to falling, turn off the chainsaw, set it down safely away from the fall path, and immediately move to your pre-planned escape route. Do not turn your back on the falling tree; keep an eye on it while moving to safety.
Watch: Monitor Tree Fall and Clear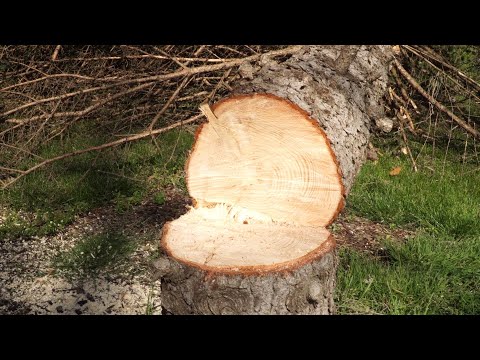
Limb and Buck the Tree
180 minutesOnce the tree is safely on the ground and stable, begin limbing by cutting off branches. Work from the base of the trunk towards the top. Then, proceed to buck the trunk into sections of a manageable size for transport or disposal. Be mindful of tension in branches and the trunk, which can cause unexpected movements or binding of the saw.
Watch: Delimb and Buck the Fallen Tree
Debris Removal and Site Cleanup
120 minutesGather all cut wood, branches, and any other debris generated during the removal process. Transport the wood to a designated disposal area, such as a chipper, burn pile, or for firewood. Rake or blow away sawdust and smaller debris to leave the site clean and safe.
Watch: Final Site Cleanup and Wood StorageCommon Problems
The tree starts to fall in an unintended direction, posing a serious safety hazard to you or your property.
Solution: If the tree begins to fall in an unexpected or dangerous direction, immediately yell 'TIMBER!' loudly to alert anyone nearby. Retreat quickly and calmly along your pre-planned escape route (a path leading away from the tree's fall zone, typically at a 45-degree angle opposite the fall). Do not attempt to stop or redirect the falling tree. Once the tree has fallen, carefully assess the situation for damage or continued hazards before approaching.
Prevention: Thoroughly assess the tree's natural lean, wind conditions, and any obstacles before making cuts. Create a precise 'directional notch' (also called a 'face cut' or 'hinge cut') on the side of the tree where you want it to fall, ensuring it's about 1/3 of the tree's diameter deep. Use felling wedges (like the Halder or Husky wedges) in the 'back cut' to help guide the tree and prevent the chainsaw from binding. If you are unsure or the tree is unpredictable, do not proceed; call a professional.
Your chainsaw gets pinched or stuck in the wood during a cut, preventing it from moving and potentially damaging the saw or causing kickback.
Solution: Immediately turn off the chainsaw. Never try to force or pull the running saw out of a pinch. Identify if the wood is closing in on the saw from above (compression) or below (tension). Use a splitting wedge (e.g., Halder or Husky) and a sledgehammer (Husky 10 lb. Sledge Hammer) to gently drive the wedge into the cut, opening the 'kerf' (the slot the chain makes) and releasing the saw. Once the saw is free, re-evaluate the cut and consider making relief cuts to prevent future pinching.
Prevention: When felling, insert felling wedges into the back cut as you go to maintain the opening and prevent the tree from sitting back on the saw. When limbing or bucking (cutting the trunk into sections), identify areas of tension and compression. Make a small 'relief cut' on the compression side first (the side being squeezed) before making your main cut on the tension side (the side being stretched) to prevent the wood from closing on the saw.
You sustain an injury (e.g., a cut, eye injury, head impact) due to inadequate or improperly used safety equipment.
Solution: Stop all work immediately. Assess the severity of the injury. For minor cuts or scrapes, clean the wound with antiseptic and apply a bandage. For serious injuries such as deep cuts, eye trauma, or head injuries, call emergency services (911) without delay. Afterward, review your safety procedures and equipment to identify what went wrong and prevent recurrence.
Prevention: Always wear *all* required safety gear (hard hat, safety glasses, hearing protection, chainsaw chaps, heavy-duty gloves, steel-toe boots) before starting any cutting. Inspect your gear for damage before each use. Ensure chainsaw chaps fit correctly and cover from hip to ankle. Understand the purpose of each piece of equipment and how to use it effectively. Never work alone when felling a tree.
The tree or a large limb unexpectedly splits or shatters during the felling process or when limbing, creating uncontrollable and dangerous flying debris.
Solution: As soon as you notice an uncontrolled split, immediately yell 'TIMBER!' and retreat along your escape route. Do not try to control the split or stay in the fall zone. After the tree or limb has fallen, approach cautiously, as some sections may still be under stress or could shift. Avoid cutting into heavily splintered wood if possible, as it can be unpredictable.
Prevention: Ensure your directional notch is correctly made and deep enough (around 1/3 of the tree's diameter) to create a strong 'hinge' that guides the fall. Do not cut too far into the hinge when making the back cut. When limbing large branches, especially those under tension, use the 'three-cut method': an undercut (1/3 way through), a top cut (to meet the undercut and remove weight), and then a final flush cut to the trunk. This prevents the limb from tearing down the trunk.
Your gas chainsaw won't start, or it runs poorly (stalling, sputtering, lacking power) during the project.
Solution: First, check simple things: Is there fuel in the tank? Is the chain brake disengaged? Is the choke set correctly for starting (usually 'full choke' for cold starts, then 'half choke' or 'run' once it fires)? If it still won't start, ensure you're using fresh, properly mixed fuel (TruFuel 50:1 Pre Oil Mix). Check the spark plug for fouling (black carbon buildup) or damage; clean or replace it if necessary. For battery-powered chainsaws, ensure the battery is fully charged and correctly seated.
Prevention: Always use fresh, properly mixed fuel (for 2-stroke engines) or fuel stabilizer if storing gas for extended periods. Regularly clean the air filter and spark plug according to your chainsaw's manual. Ensure your chainsaw is well-maintained, and the chain is sharp and correctly tensioned, as a dull chain can make the engine work harder and run poorly.
The chainsaw chain feels dull, cuts slowly, produces sawdust instead of wood chips, or kicks back excessively, indicating poor chain sharpness or tension.
Solution: Immediately stop the chainsaw. A dull or improperly tensioned chain is inefficient and significantly increases the risk of dangerous kickback. Check the chain tension; it should be snug against the bar but still pull freely by hand. Adjust according to your saw's manual. Sharpen the chain using a chainsaw file and guide (Powercare 7/32 in. Chainsaw File and Guide), following the correct angle and depth gauge settings. If the chain is severely damaged or worn, replace it.
Prevention: Check chain tension before each use and periodically during operation. Sharpen your chainsaw chain regularly – typically after every tank of fuel, or sooner if you hit dirt, rocks, or feel it getting dull. A sharp chain makes clean, efficient cuts with minimal effort and reduces the chance of kickback. Always use the correct file size and guide for your chain.
You feel fatigued, rushed, or frustrated, leading to a decrease in focus and a higher risk of making dangerous mistakes.
Solution: Immediately stop working. Take a break to rest, rehydrate (drink water), and eat a snack. Step away from the work area completely. If you're feeling rushed or frustrated, acknowledge that these emotions impair judgment and increase risk. It's better to pause and regain composure or even postpone finishing the project until the next day than to make a critical error due to fatigue or impatience.
Prevention: Plan your tree removal project carefully, breaking it down into smaller, manageable tasks. Don't try to do everything in one day, especially for a multi-day project. Schedule regular breaks, even short ones. Work with a helper or spotter if possible, not only for safety but also to share the workload and maintain vigilance. Know your limits and don't push yourself when tired.
Frequently Asked Questions
What safety precautions are absolutely essential for DIY tree removal?
Tree removal is extremely dangerous and can lead to severe injury or death. It requires professional training and specialized equipment. It is crucial to consult with a licensed and insured arborist or tree removal professional rather than attempting it yourself.
What tools and equipment are needed for safe tree removal?
Professional tree removal requires a range of specialized tools, including high-powered chainsaws, felling wedges, safety climbing gear, ropes, winches, and personal protective equipment such as helmets, chaps, and eye protection. Attempting to use inadequate tools or lacking the proper protective gear can be fatal. Licensed arborists are equipped with the right tools and expertise.
How can I accurately estimate the time and cost involved in a tree removal project?
Estimating time and cost for tree removal is complex and depends heavily on tree size, location, species, and potential hazards. Misjudging these factors can lead to unexpected complications and increased risk. A professional arborist can provide an accurate assessment and a detailed quote, ensuring the job is done efficiently and safely.
What are the common mistakes people make when attempting DIY tree removal and how can they be avoided?
Common mistakes include misjudging the fall direction, improper cuts leading to kickback or barber-chairing, insufficient safety gear, and underestimating the tree's weight and power. These errors can result in property damage, severe injury, or death. The only way to reliably avoid these mistakes is to hire a qualified professional who has the experience and training to mitigate these risks.
Are there alternative methods or less risky ways to remove a tree without hiring a professional?
For large or hazardous trees, there are no 'less risky' DIY alternatives to professional removal. Attempting to remove such a tree yourself, regardless of the method, poses significant life-threatening risks. For smaller trees or saplings, manual removal might be possible but still requires careful assessment of potential hazards like falling debris. Always consult a professional for safe assessment and execution.